When you know an incident will occur in the future, you can schedule an issue to notify subscribers when it occurs.
To create a scheduled issue, create an issue as you normally would, and then enable the scheduled toggle. Now, you have access to advanced scheduling options described below.
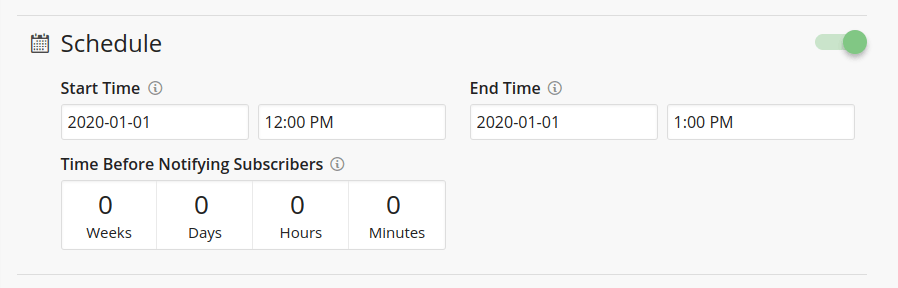
Starts At
When a scheduled issue starts, the issue's state override will take effect.
Ends At
When a scheduled issue ends, the issue's state will fall back to using the component's status (if overridden) and the issue is marked as resolved.
If an update is created with the "resolved" label before a scheduled issue reaches its configured end time, it's considered resolved, ignoring the end time.
Time before Notifying Subscribers
An amount of time can be set to notify subscribers of an upcoming scheduled issue before it starts.
Cancelling a Scheduled Issue
If a scheduled issue no longer applies, and you would like to cancel it without deleting the issue for historical purposes, then you can click the Cancel Schedule button on this Issue History page for the particular issue. If the issue declared a state override, then it will be ignored. Cancelling the issue will fire an Issue Cancelled notification to your subscribers.
Note: Do not use issue cancellation to end a scheduled issue early, as issue cancellation nullifies any effect the issue has on your status page's history and percent uptime. To end an issue early, you can create a resolved update using the New Update button, or by revising the issue's schedule by hovering over the gear icon next to the issue on the Issue History page and clicking Edit.